
| Home | Create your own track; in Max or in the free ZModeler. |
|
|
|
Simple Tabulated Surface Creation with Zmodeler
This tutorial will (attempt to) explain how to use the Create->Surfaces->Tabulated tool from two splines. When you have mastered this tool, you will be able to create track surfaces with ultimate ease. First let me explain what a lofting tool does. It takes one Spline, and moves it around another spline, making polygons along the way so that, what you have is a surface, of which the first spline is a cross-section, and the second spline is the shape. For this tutorial, you will make your own 8-Shaped track.
Tracing Images
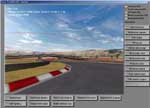
You really only need a top tracing image to do your lofting. For this tutorial, we'll be using a 512x1024 image with an 8 filling the image (i used Times Roman for the symmetry). I also used Paint Shop Pro 7's feature of a Black stroke and light grey fill. Save this as a BMP and load it in Zmodeler.
Preparing the Splines
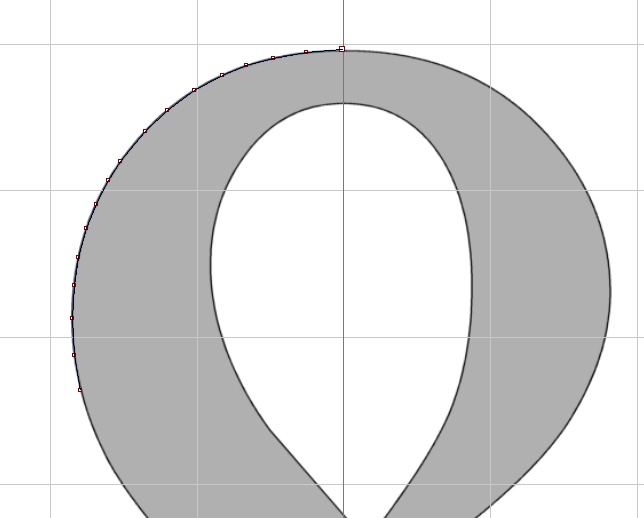
Once you load the tracing image into the top view, then activate the Create->Splines->Linestrip command. Now, pick an edge of the 8, and start clicking. You will left click to make a segment of the linestrip, and follow your edge all the way around the 8 until you end up at the place you started. Make sure you do this on high enough zoom that you use lots of spline segments. Take a look at this screen shot to see what I mean:
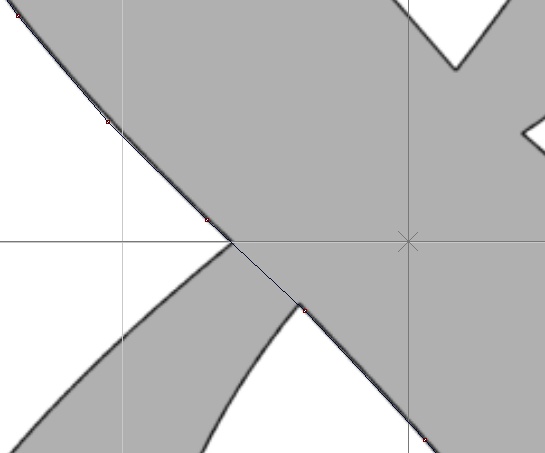
Keep on that edge of the 8, even when you cross the middle, as shown here:
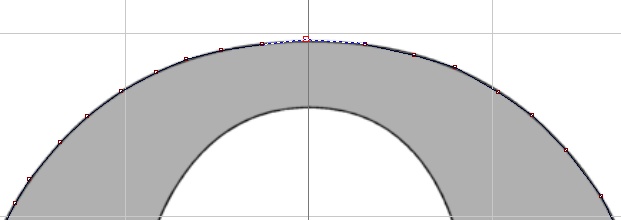
Now, continue (now you are on the opposite side of the track though (the inside instead of the outside)) around to the place you started. Your final click should be on the first vert of the spline like this:
This spline maps the path of the track, from now on, we'll call this one the Path Spline. Now we have to create the Cross-Section spline. This spline will be the shape of each track segment along the Path Spline. So, I usually make a spline that is perpendicular to the first vert of the Path Spline like so:
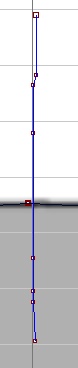
This is all well and fine, but it is currently flat. So the next thing we have to do is extrude it. How do we do that? If you had maximized the Top View, unmaximize it now (* key) and zoom in on a view that will let you see the cross section. If you made this track like I did, then it should be the Right or Left window. Now, switch to Vert Mode, Splines level (this can be accomplished by pressing 4, 1, and ` (next to 1)). Now press the "Z" button and make the Top view active again. Now, activate the Modify->Move tool and carefully move your verts in the Cross Section Spline up and down as necessary until you get the track shape you want. I tend to make about three segments mostly flat, then one segment nearly straight up (the wall) and after that, another segment that goes up at an angle on either side, this makes a good track shape, though it's nothing real. You should always take real track shape into account before making the cross section spline. Make something similar to what I have here and move on to the next step.
For clarity, you will be clicking on each vert in the spline and moving the mouse up and down in the TOP view. This will move the SplineVert up and down in the RIGHT viewport. This is much easier, since in the right viewport it is nearly impossible to tell which verts belong to the Cross Section Spline.
Making the Bridge
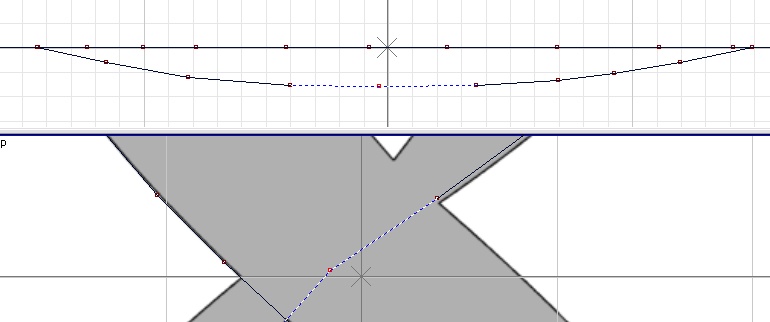
Before you get all hot for making this track, remember that this track crosses itself. You will have to raise one section of it in a bridge. This is easy: use the same method that you used when you made the Cross Section spline. Pick one side that you want to be the bridge, and pull these verts up. Do it smoothly so that your car doesn't bounce all over the place when you hit it. Make the rise high enough that your cross section will clear it when it goes under the bridge.
Alternatively, you could just as easily make a tunnel: you just have to pull the same verts down, instead of up. I made a tunnel, because I think it will be more fun. Have a look:
Making the Surface
Finally! We get to use the fabled Tabulated tool. Activate Create->Surfaces->Tabulated. Now, you will click on one spline and then the other, you wil be prompted for a name, and then Z-Modeler will create the surface. One thing is important: The order in which you click the splines! The order designates one to Z-Modeler as the Path Spline and the other as the Cross Section Spline. First click the Cross Section Spline and THEN click the Path Spline. Your track should show up. Don't worry if the track isn't exactly on the Path Spline, it's the right shape.
By the way, I forgot to mention that it is imperative that
yu useonly ONE spline for the Path Spline. If you don't, then you'll have to
use the Tabulated command more than once, and you'll have a crazy looking track,
trust me.
Also, I also don't recommend using text for your tracks. Try and find a map
of one or a blueprint-type drawing.
If any part of this tutorial is unclear, please feel free to contact me via this thread. But PLEASE refrain from asking me how to import Tracks into Racer. I know nothing about this.
Ryan T.
Editorial note: Oleg (who maintains ZModeler) responded: it's preferable to make flat "path" and then use modify\[Z]-move with EXTended mode on surface.
(last updated November 13, 2012 )